
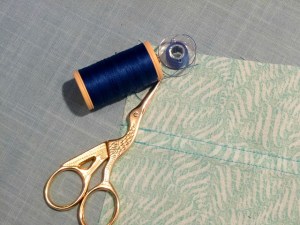
So, you’ve gotten to the end of your seam or you are about to run out of thread.
You need to secure the end of the thread, so that your stitches won’t pull out. But how?
This is *so* easy, you’ll love it!

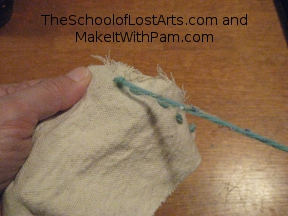
Start by taking a small stitch in place at the end of your line of stitching.
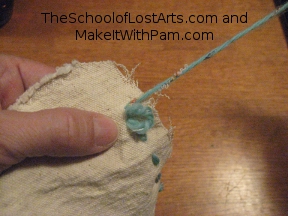
Pull the thread most of the way through, but not all the way!
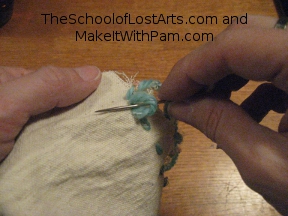
Just before the loop of thread closes, pass the needle through it.

Then pull the loop of the stitch closed.
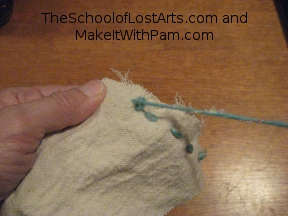
It makes a small knot right there! It’s best to do this another time or two, just to make sure the thread is secure. You can pass the needle under the stitch you just made, rather than making a new stitch all the way through the fabric.
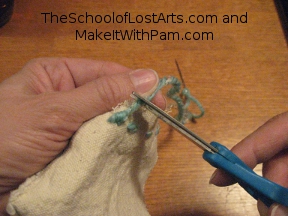
Then cut the thread about a half inch from the knot. Done!
Are you a visual person who likes to see it in action? Check out my quick video of how to secure your stitches.
Ready to move on? Practice your new skills in my free Make-It Challenge at Creating With The Lost Arts!
