

Once you have the thread on the needle, you’ll need to knot the other end so that it doesn’t pull out of the fabric as you sew. What other end, you ask? Well, you should sew with a piece of thread about 18 inches to 24 inches long at a time. Any longer might tend to tangle, fray, or break, which is really frustrating when you are trying to sew.
I was originally taught a different method of knotting thread, which once again, usually worked…but not always. There was another method I tried for awhile that was so bad, I have amnesia surrounding it!
A better way:
Instead, I am teaching you a method I learned a few years after I began quilting. It is by far the easiest method I have ever learned to knot a thread.
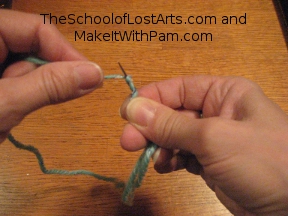
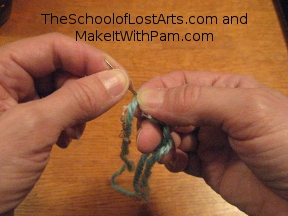
First, hold the threaded needle point up.
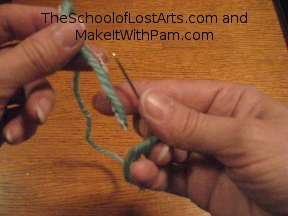
Next to it, place the tail end of the thread with the tail pointing down.
Pinch the bottom of the thread and the needle together with one thumb and forefinger.
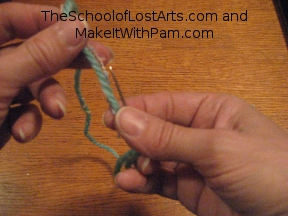
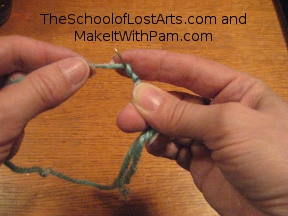
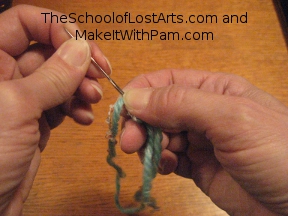
With the other hand, wrap the thread around the needle three to five times.
Thicker threads and yarn may only take three wraps for a good knot. Very fine threads may take up to seven wraps to get a big enough knot to prevent it from pulling through the fabric.
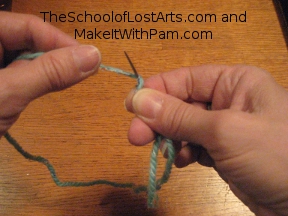
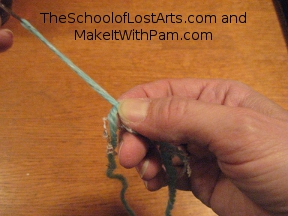
Slide the wraps down the needle until they bunch together at the bottom.
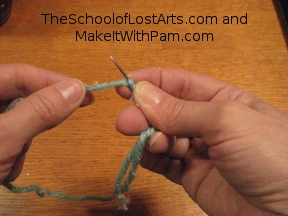
Pinch the wraps together, and pull up on the needle with the other hand.
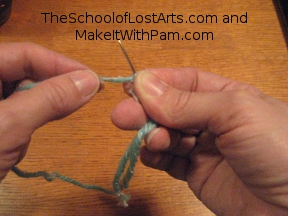
Keep pinching the wraps together as you slide them down the thread.


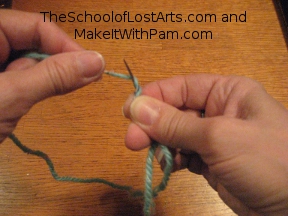
When you reach the bottom of the thread, magically, a knot appears!
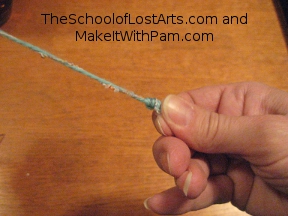
It is fine if there is a short tail sticking out of the knot – and the knot may stay knotted better if there is one! Trim the tail to between 1/4 inch and 1/2 inch if it is longer than that.
If you do not have a knot at the end…you started with the tail end of the thread pointing up, instead of down. Turn it around the other way, and try again.
See? You’ve got it! 🙂
Are you a visual person who likes to see it in action? Check out my video of the thread knotting process.
Ready to move on? Next up: Three Basic Stitches everyone should know!
