
The first step to learning to sew, is learning how to thread a needle.
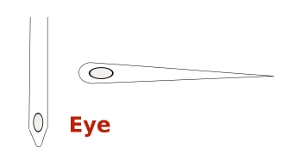
On a hand-sewing needle, the hole, or eye, is opposite the pointed end of the needle. On a sewing machine needle, the eye is just above the pointed end. Getting your thread through that tiny hole so that you can sew, is called threading the needle.
First, make sure that the eye of the needle you are planning to use is big enough for the thread or yarn you will be using. The thread should be able to pass through the eye easily, without forcing.

There are several ways to thread a needle. All start with a freshly-trimmed end on the thread or yarn. Trust me on this…it’s easier to do if you snip off a quarter inch of thread before starting, to give you a fresh tip.
Just pushing the end of the thread through the eye rarely works – the frayed fibers at the tip tend to splay out instead of neatly going through the eye of the needle.
When I was three years old and learning to sew, I was taught to lick the tip of the thread to make the fibers stick together. This usually works okay, but not always. Around 2000, the “new” way to do this was to lick the eye of the needle instead. The moisture was supposed to draw the thread through the eye. I never got this method to work very well for me, and couldn’t figure out how to get my mouth close enough to the needle on my sewing machine for that method to work there.
A better way:
The method I will teach you works, all the time, for everything from fine silk thread to bulky yarns.
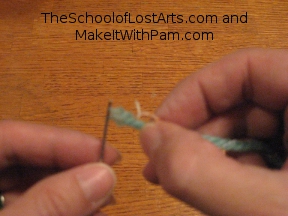
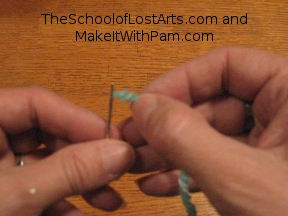
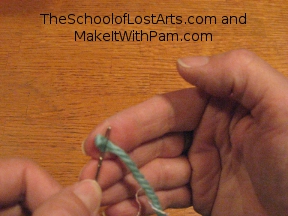
First, fold the thread or yarn around the needle, in a U shape.

Pinch that U between your thumb and forefinger. Slip the needle out of the U, and pinch harder, squishing the thread into a V.
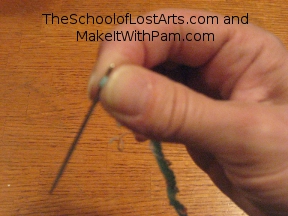
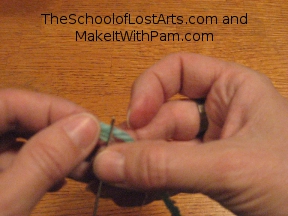
Place the eye of the needle over the point of the V. Make sure the eye is lined up so the thread can “drive” straight on through, like a semi through a tunnel.
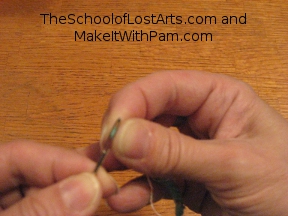
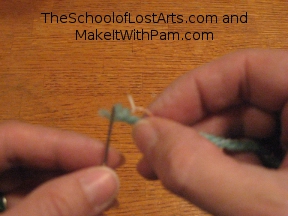
Push your fingertips towards the needle as you roll your fingertips back, and the thread will enter the eye of the needle.
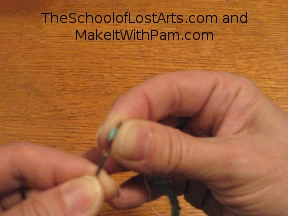
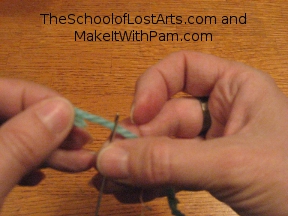
The folded thread almost magically goes through the needle’s eye!
Grab the thread and finish pulling it through the eye of the needle.
And that’s it! With a little practice you’ll feel like a pro.
Most of the time you’ll be sewing with about an 18 to 24 inch length of thread. Pull about a third of the length through the needle to start with. We’ll cover this more later.
Are you a visual person who likes to see it in action? Check out my video of the threading process.
Ready to move on? Next up: Knotting the thread end!
